
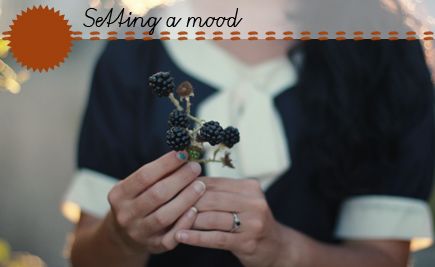
By Elizabeth, Delightfully Tacky
A good way to give your photos a coherent look and feel is to focus on setting a mood. A lot of mood has to do with lighting and setting. You can also incorporate little props if you want! I definitely feel like the mood you're actually in will tend to decide what mood your photos will take. I have a hard time trying to take whimsical, fun photos if I'm in more of a mellow, romantic mood. So be sure to take cues from your own mood to determine what mood to draw out with your photographs. The examples I'll use are outfit photos, but you can create a mood with any photo!
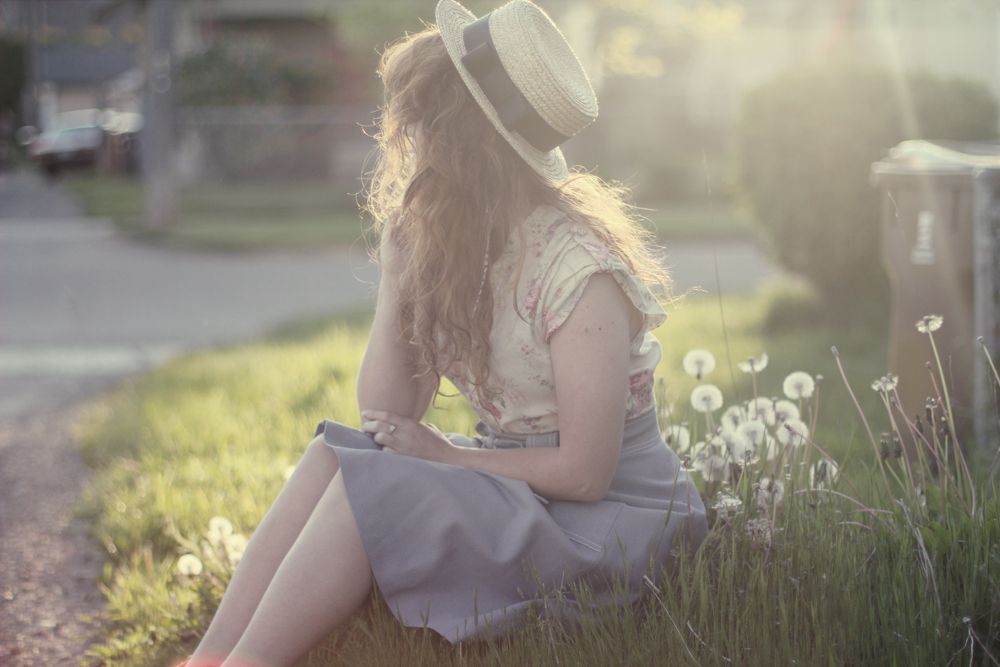
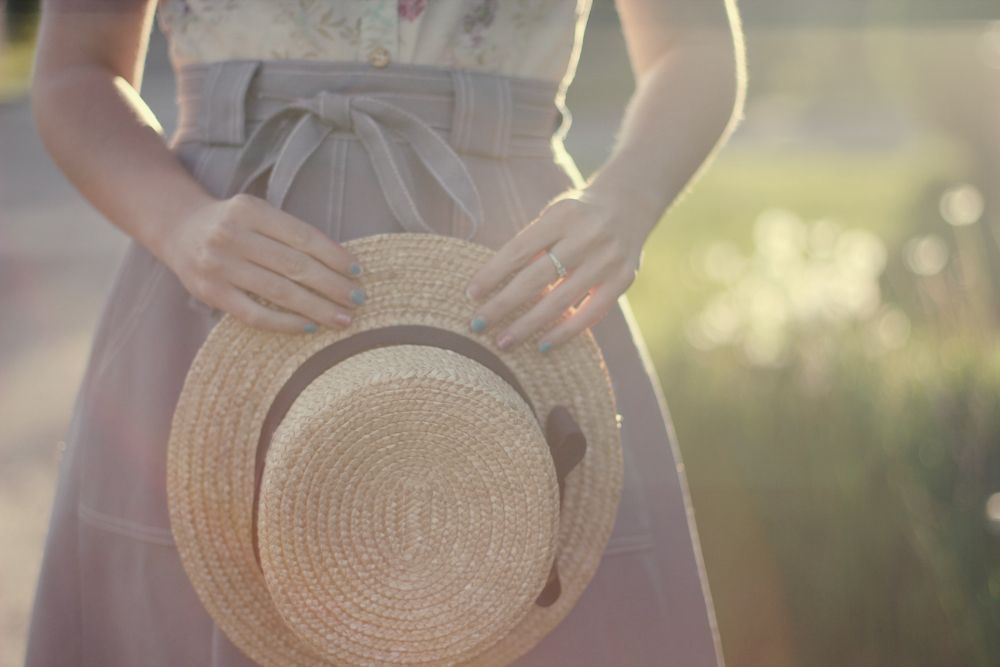
Romantic & wistful
For a more romantic mood, use more evening and sunset lighting. This will give your photos a warm, ethereal and feminine mood. A softer contrast will keep your photos looking lighter and more magical.
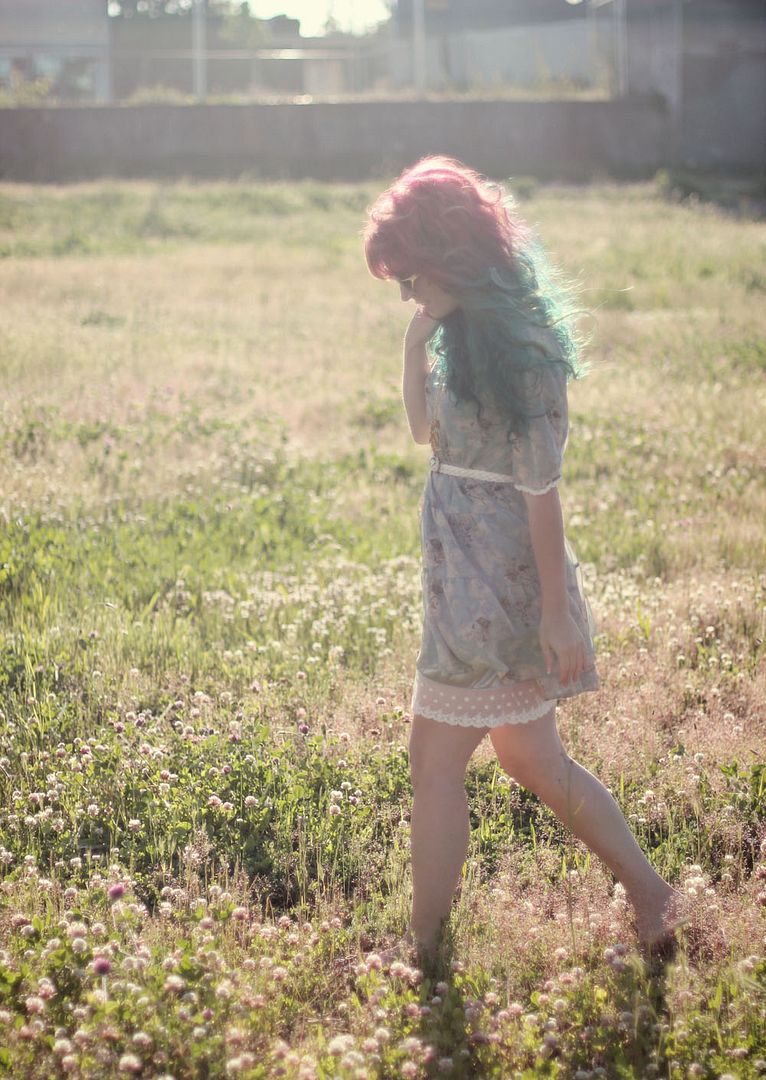
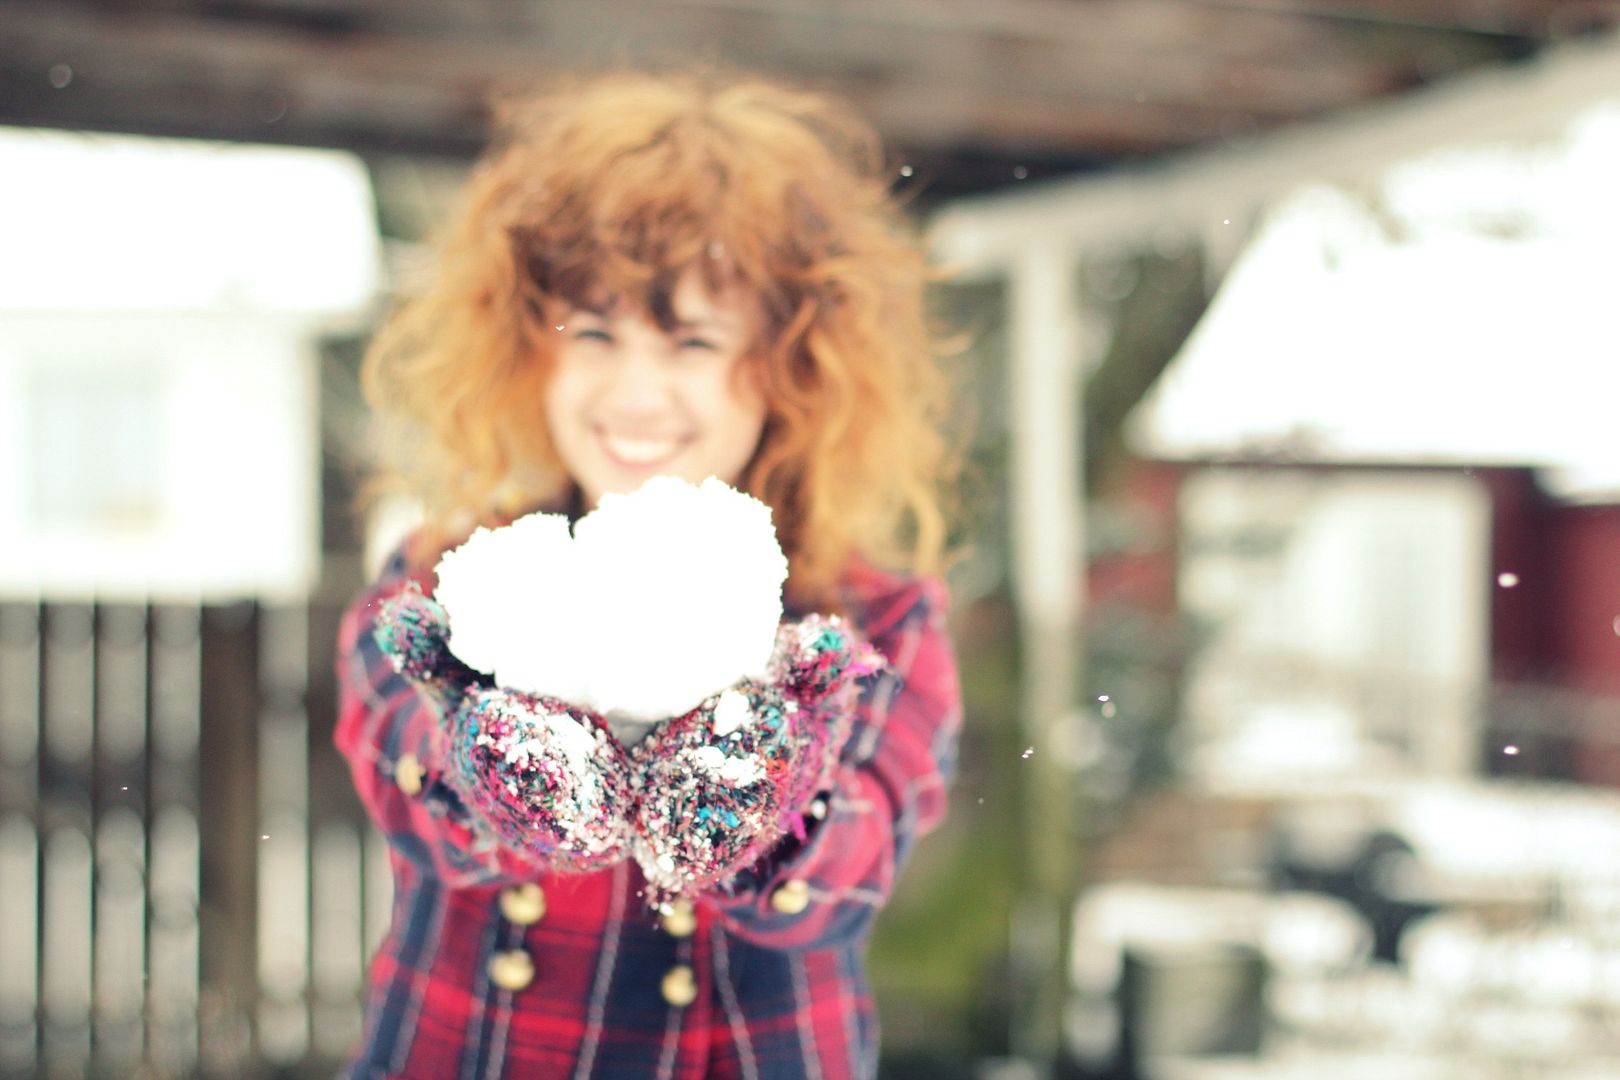
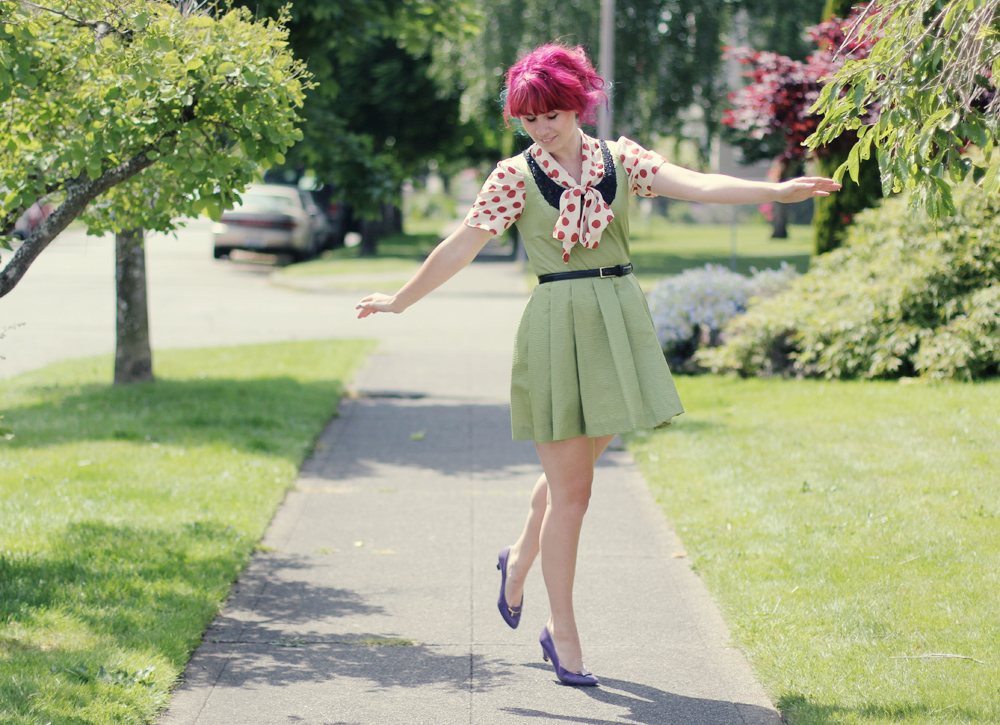
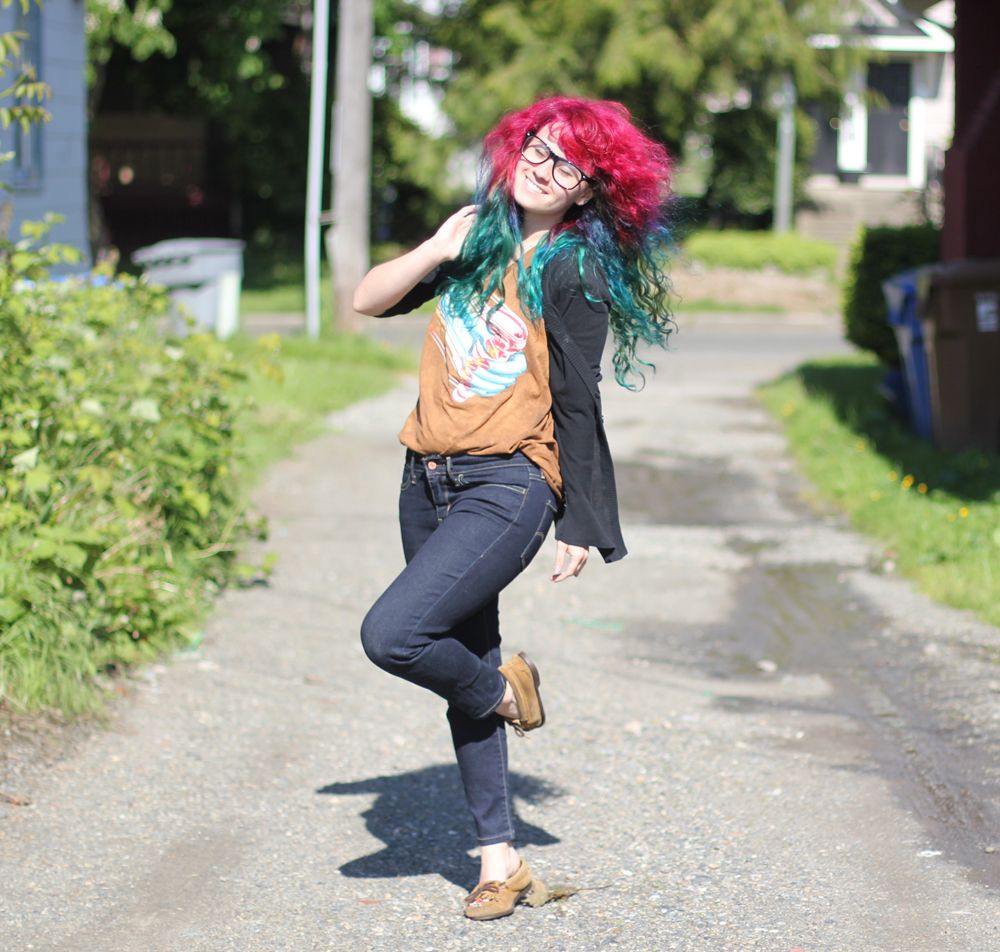
Fun & whimsical
For more lighthearted, fun photos, I usually use more mid-day lighting to get brighter and more bold colors. I also tend to have more fun while I'm taking the photos-- including jumping, twirling, and the occasional snowball!
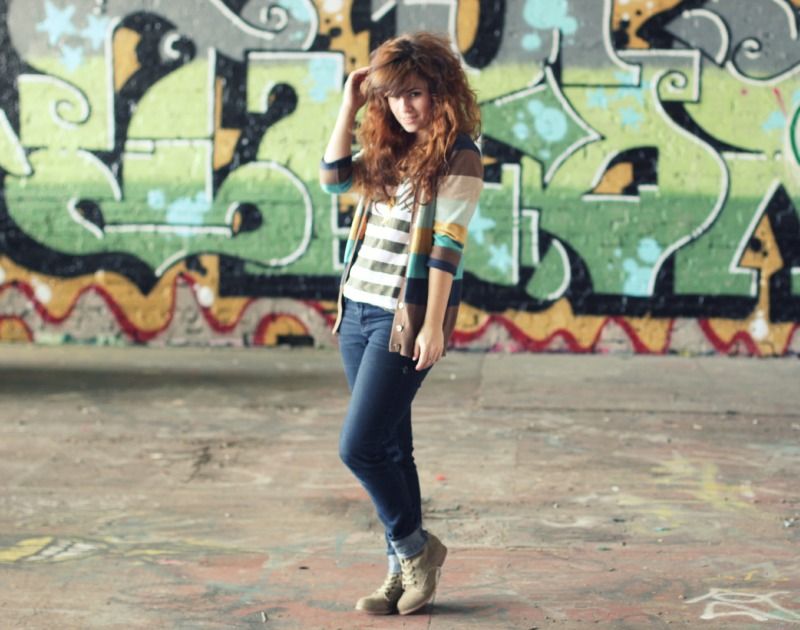
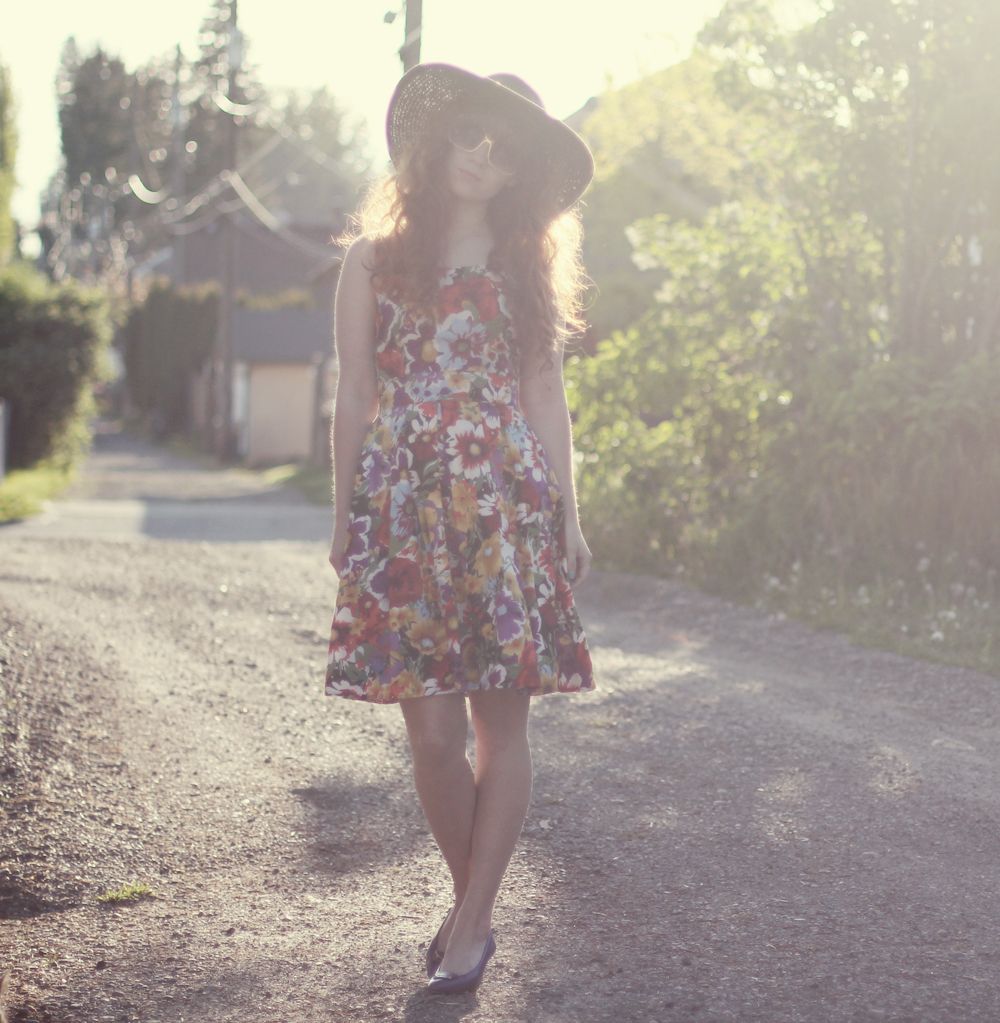
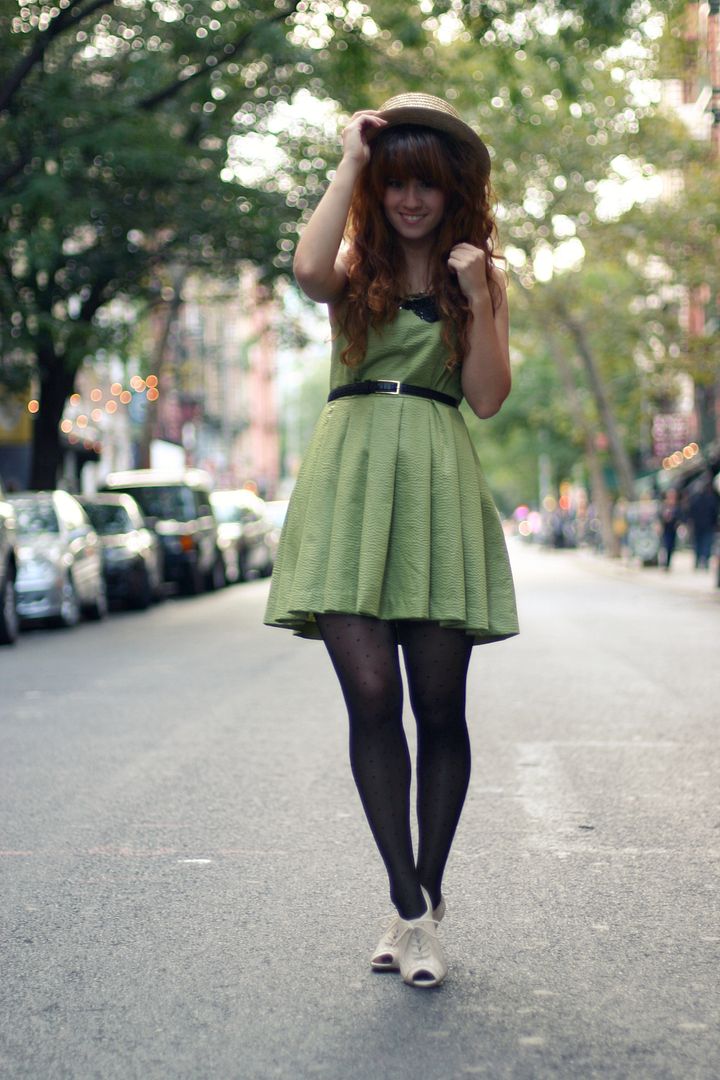
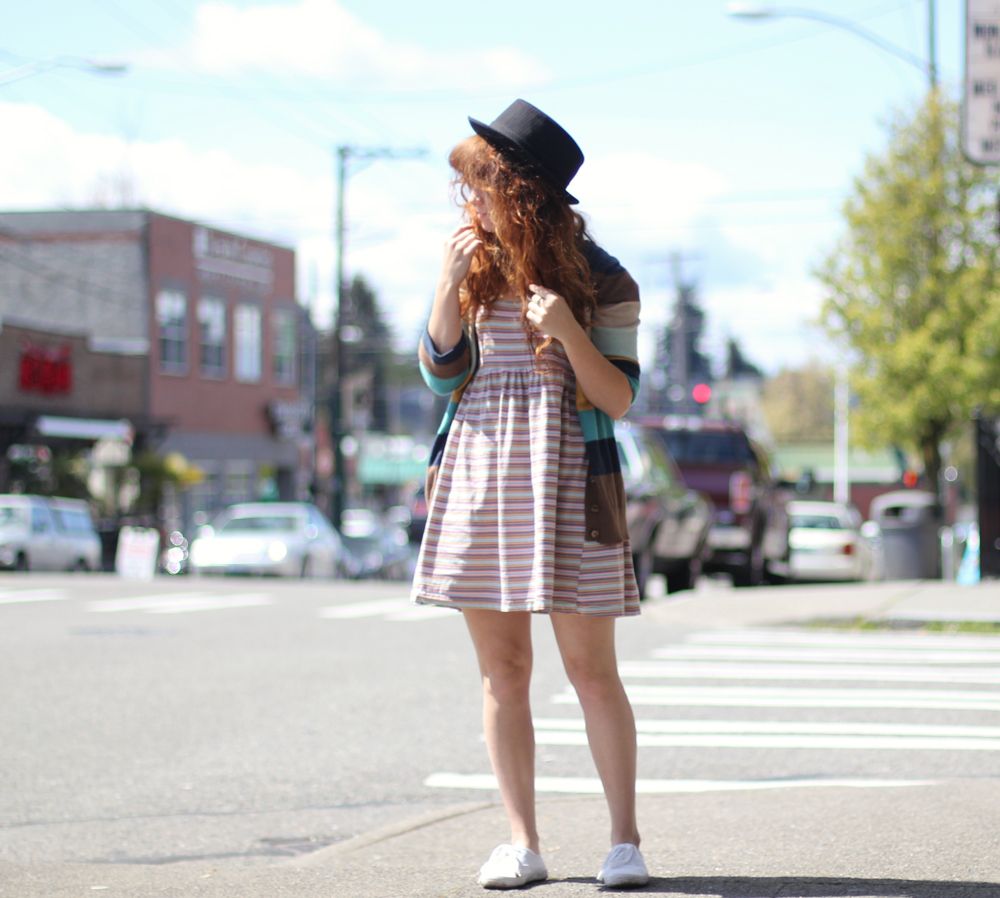
Street Style
If you want to get your photos to look like those you see on street style blogs, a lot of capturing this mood will come from actually being on the street. If you have a photographer, this is much easier than if you use a tripod like me! Street Style photos are usually taken with a shallow depth of field so that the focus is on the subject (you!) instead of all the busy-ness of the street behind. You can also try to capture yourself acting nonchalant or mid-stride like some street style pictures!


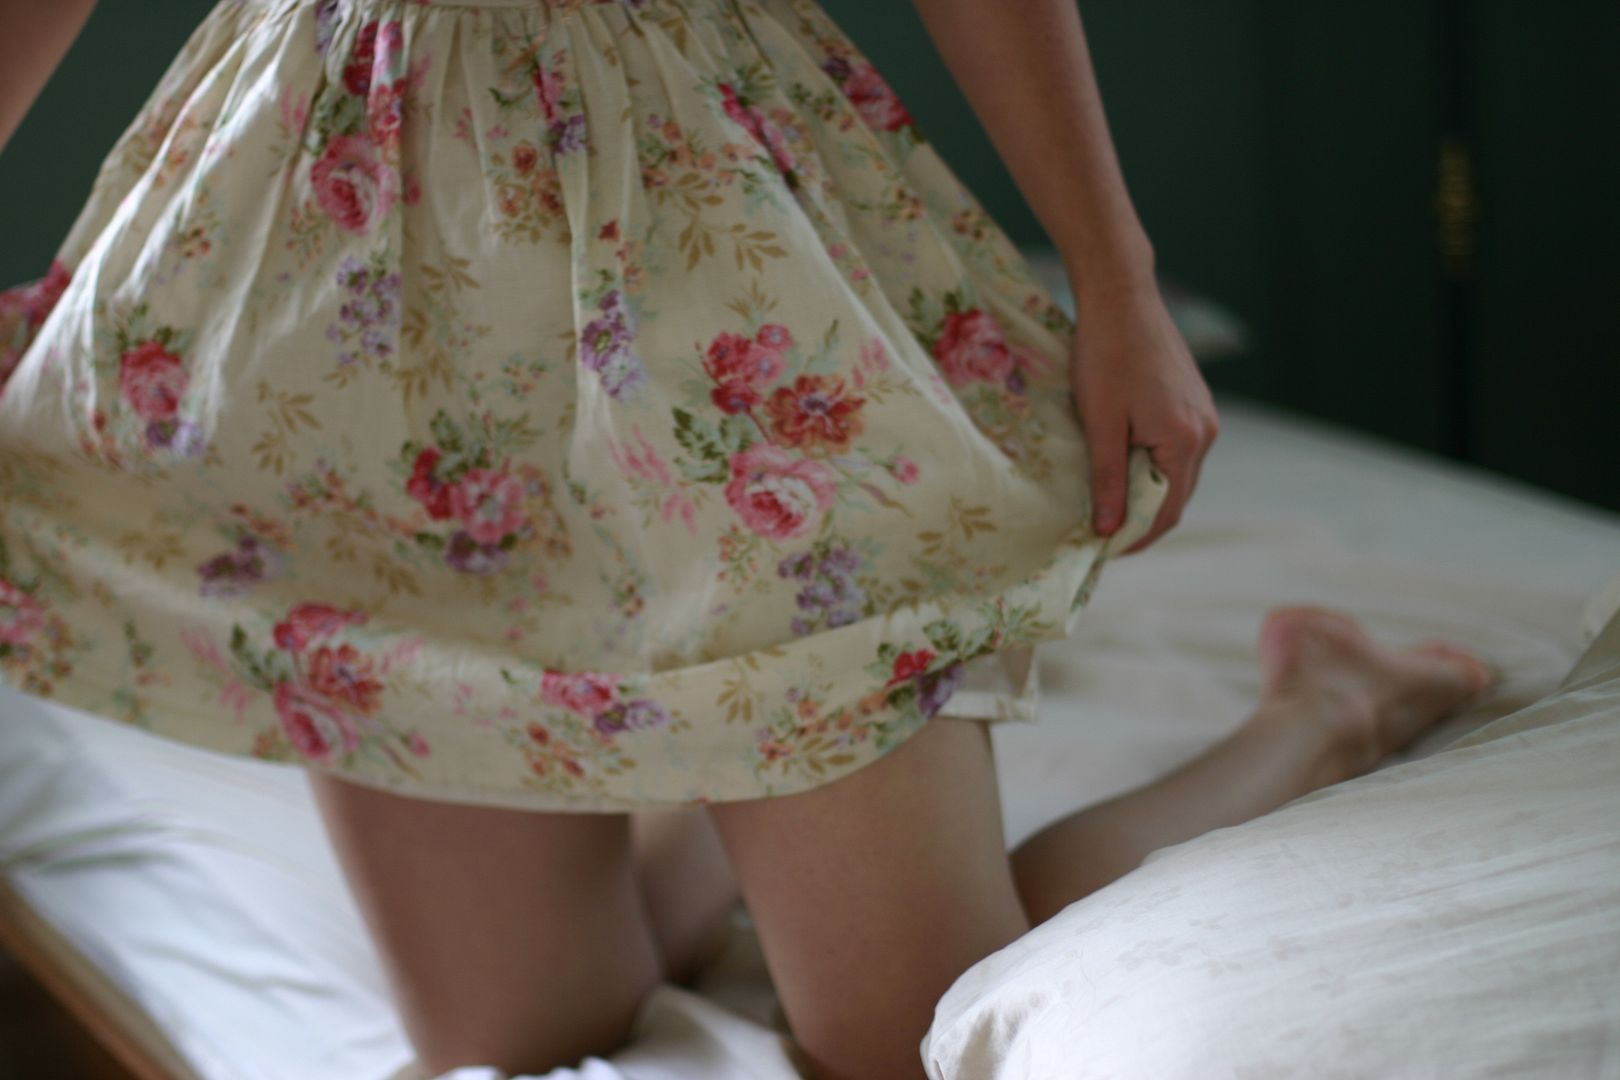
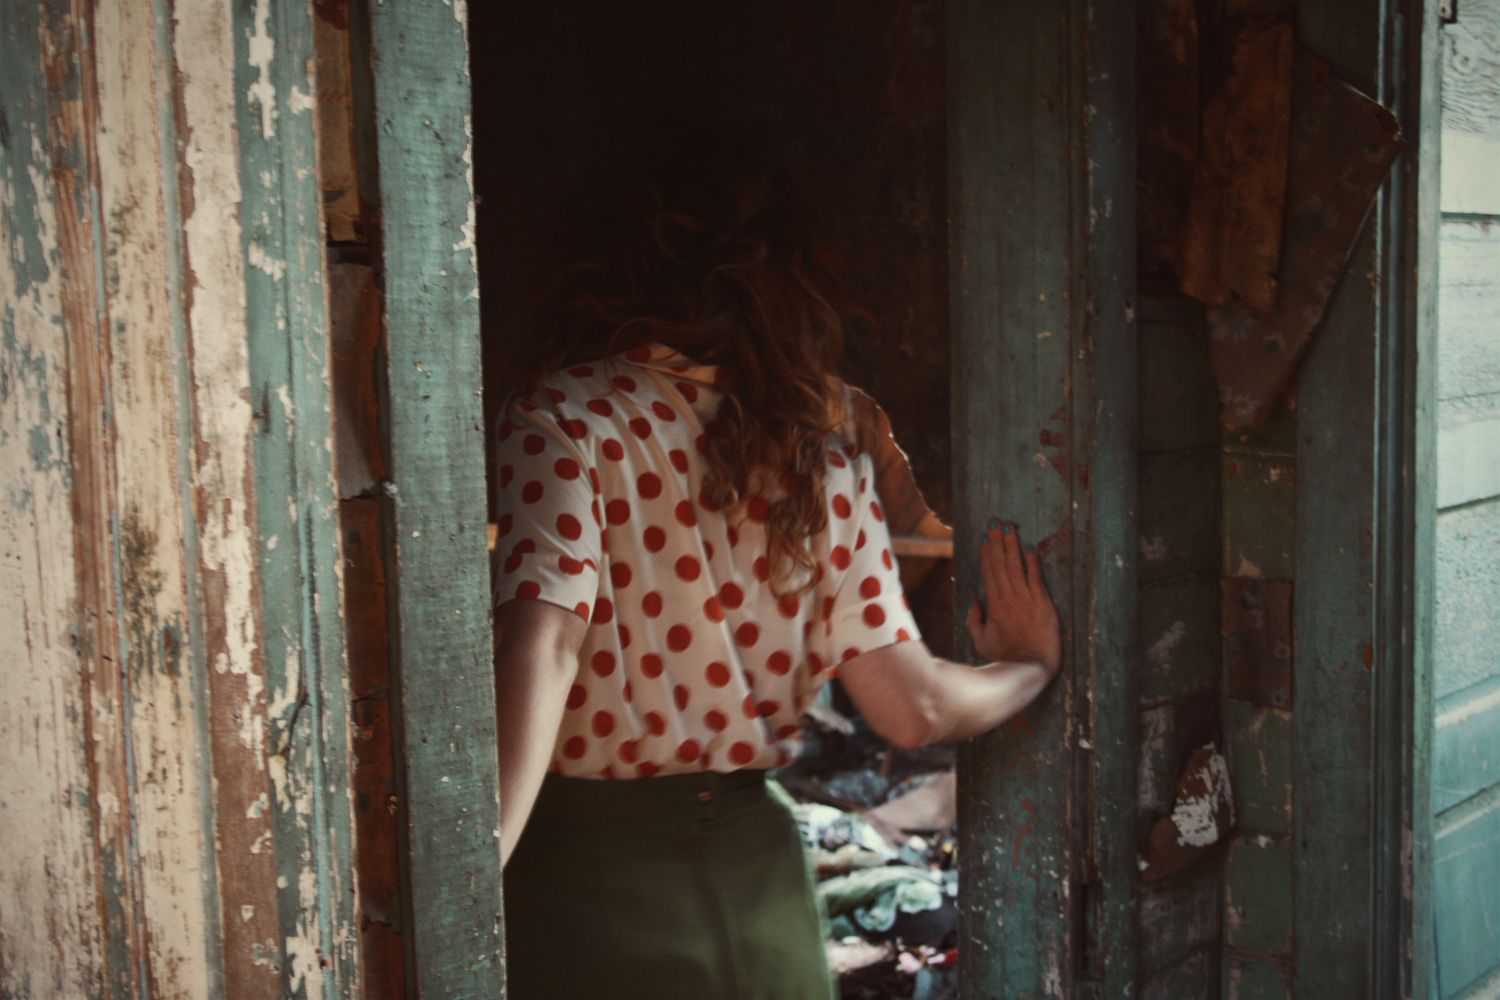
Vintage & retro
You can usually get a vintage effect on any photo using editing, but it helps to have vintage-esque subject matter in your photograph. I will usually go for this kind of mood in my photos if the outfit I'm wearing is vintage or looks vintage.
Here's a little tutorial on getting a vintage effect on your photos using photoshop! You can follow along with the video to see the tutorial in action, but go ahead and reference the steps down below. Enjoy!
To view the video, enter the password: indieblogger !
2. Create a copy by dragging down to the new layer button
3. Click on your background copy layer to edit
4. Click on adjustment layer > Brightness/contrast > Do a +20 on contrast
5. Click on adjustment layer > Hue/saturation > Do a +20 on saturation
6. Click on adjustment layer > Curves > Edit each RGB on it's own:
This will vary on each image.. Red: 84, 85; Green: 65, 75; Blue: 23, 0
7. Click on background copy layer
8. Click on menu > Convert for smart filters
9. Click on menu > Filter > Distort > Lense correction > -100 on vignette
10. On layer, double click on arrows with lines > Change opacity to 50%
11. Make sure background copy is selected
12. Click on adjustment layer > Hue/saturation > Click colorize: Create sepia tone
sepia tone will change, but should be around 35, 15
13. Change that adjustment layer to a 50%
14. Click on adjustment layer > Solid color > Choose a bright pink color
15. Change layer to 5% opacity
16. If it's too overpowering, create a group and pull all of your layers (besides original background copy) into the folder.
17. Change the opacity of the entire folder down to a 50% or less!
All set! Now you have a nice, warm, vintage-colored photo!
No comments:
Post a Comment